Table of Contents
A frost-free sillcock outdoor faucet can be a blessing if you live in a cold climate. While preventing water from freezing into your water pipes, it can also keep the water protected against unsanitary elements. However, with very low outdoor temperatures or otherwise, the body of the frost-free sillcock faucet can wear out or break and may require a replacement.
Although a frost-free sillcock faucet is an inexpensive device, it’s installation can cost a lot more if you hire a professional. Better do it yourself and save a few bucks! It’s relatively simple, and anyone can do it. All you have to do is follow our guide on how to replace a frost free sillcock outdoor faucet, and you’ll have it installed in no time!
What will you need
Gather all the supplies before starting your DIY project. You may already have most of the supplies in your home; the rest you can get at any nearby hardware store or order online. Here’s what you’ll need:
Before replacing the faucet
Before beginning this project and learning how to replace a sillcock, here’s what you need to do.
- Turn off the valve that leads water into the outdoor faucet that’s already installed.
- Turn off the water heater, or switch it to pilot.
- Open the faucet and drain out all the water that remains in the pipes.
Now the faucet is safe to work with. We’ll move on with the project.
Steps to follow to remove the existing frost free sillcock outdoor faucet
The current outdoor faucet will, of course, need to be removed before you can install a new one in its place. Here’s what you need to do:
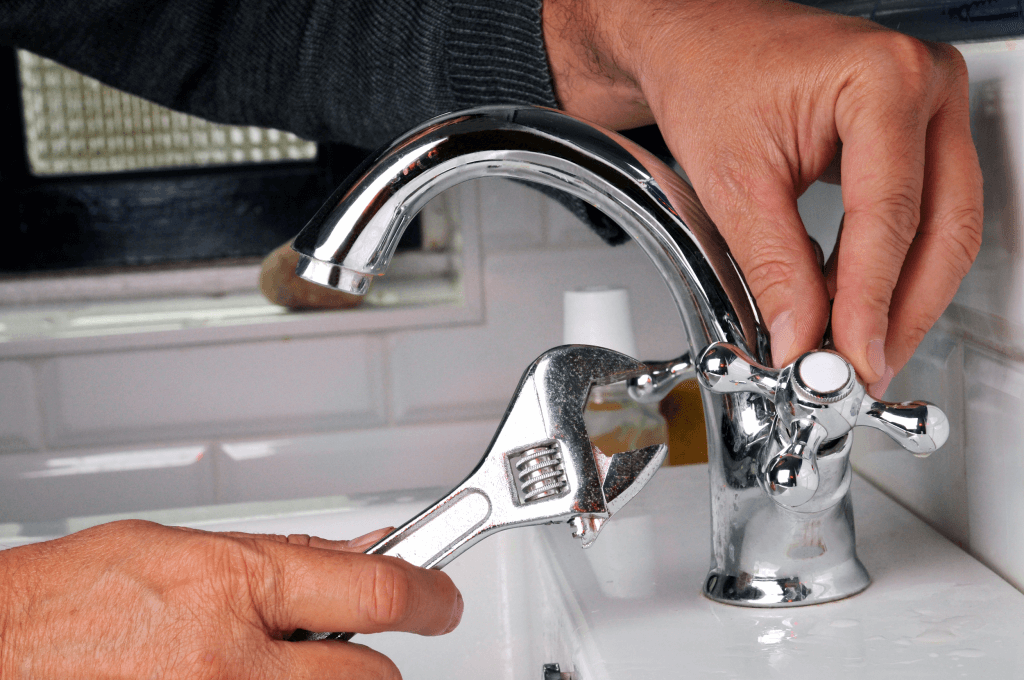
- Fix an adjustable wrench or pipe wrench in the neck of the old faucet from the point where it is attached to the wall.
- Hold the wrench tightly and begin turning it anticlockwise.
- Once you have unscrewed the nut, the internal part of the old sillcock faucet will come out.
- If you were experiencing a leakage, it might be due to a tear in the washer, which you’ll be able to see when this part of the old faucet comes out.
If only this part that comes out needs replacement, you may purchase the replacement part and replace it without moving on to the next steps. If, however, a replacement part isn’t available or the entire faucet is too worn out to be reused, it will need to be removed completely from the source. If so is the case, let’s move on to the next step.
- Find the source of the faucet behind the house wall that you are working on.
- When you find the connection of the faucet to the water pipes of your home, use a wrench to detach this connection.
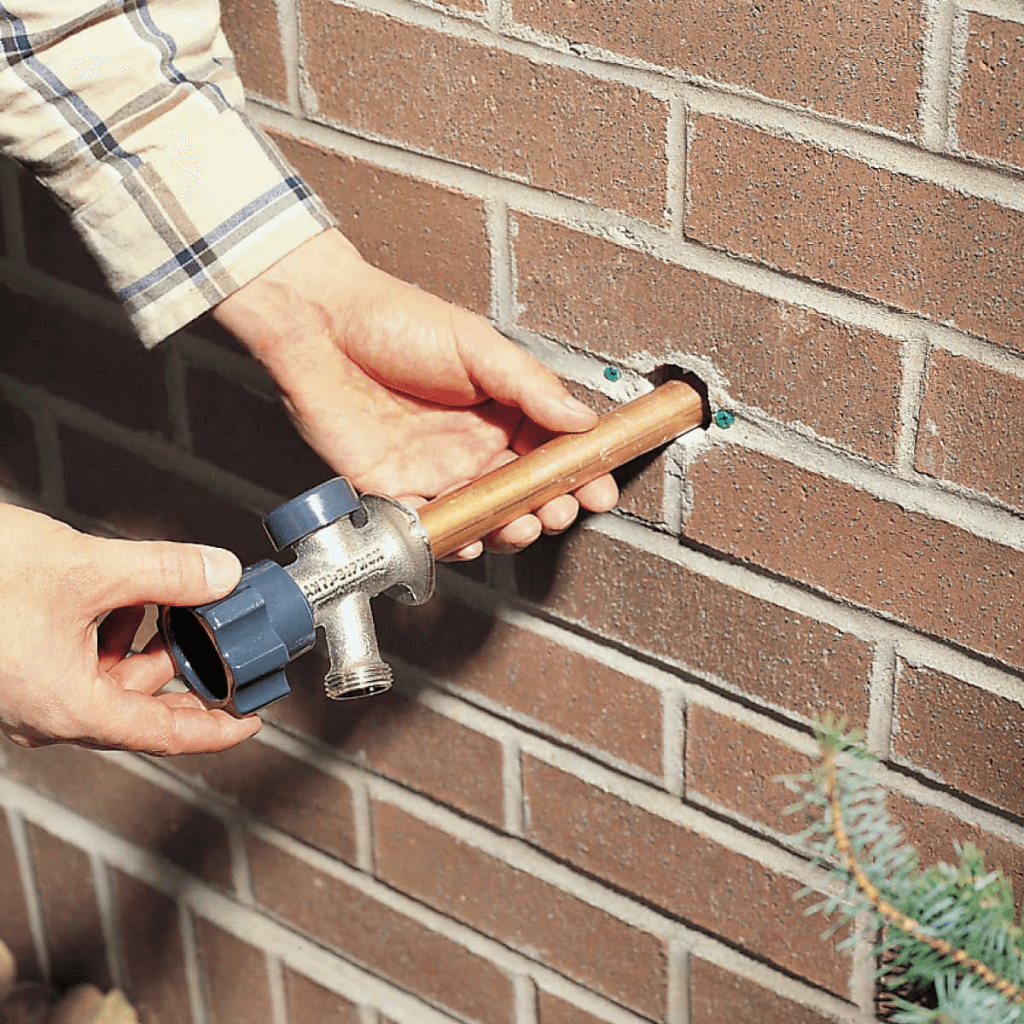
- Move back to the outer side of the wall and pull out the entire frost free sillcock faucet from this end.
Steps to follow to install a new frost free sillcock outdoor faucet
Now, if a single part is faulty, you may want to find a replacement part from the store. However, you may want to replace the entire frost-free, sillcock faucet, if it’s too worn out to be used. These are quite inexpensive, so you won’t be wasting much money, especially if you’re going to install one yourself without employing a professional.
The installation of a new one is also quite simple. Here is how to replace a frost free sillcock outdoor faucet:
- Right from where you have pulled out the old frost-free sillcock faucet, push in the new one.
- Move back to the inner side of the wall and wrap the backend of the new faucet with some pipe tape.
- Hold the end of the faucet with pliers and reattach to it the same water pipe which you detached from the old faucet.
- Open up the water valve that you closed before starting the project.
- Move back to the inside wall and see if there’s any leakage where you made the connection of the new faucet with the water pipe.
- Come back to the outside wall where the outlet of the outdoor faucet is.
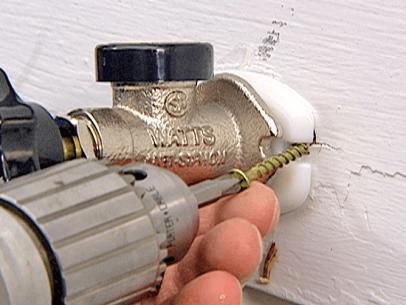
- Screw it from both ends, back onto the wall of your house. You might want to drill in some new holes into the wall if the new frost-free sillcock outdoor faucet was different in shape or size to the old one.
- Open the faucet and see if water comes out correctly.
Conclusion
So there you have it! No need to call in a plumber. You can handle these small plumbing chores on your own without wasting any money. You need to understand how to replace a frost free sillcock outdoor faucet before you start with the project.
Once you have a new frost free sillcock outdoor faucet installed, your outdoor water supply will be back to normal. You’ll be getting contamination-free water for your garden without any chances of the water freezing into the pipes, at least for a long time.